
A manual butter churn is a traditional kitchen tool designed to convert cream into butter through mechanical agitation. It offers a simple‚ cost-effective‚ and healthy way to produce fresh butter at home‚ appealing to those who value homemade products.
1.1 What is a Manual Butter Churn?
A manual butter churn is a kitchen device that mechanically agitates cream to produce butter. It typically features a glass or metal container‚ a churning mechanism‚ and a crank for manual operation. This tool allows users to create homemade butter efficiently‚ offering control over ingredients and texture while preserving traditional methods.
1.2 Benefits of Using a Manual Butter Churn
Manual butter churns offer a fresh‚ healthy way to make homemade butter‚ allowing control over ingredients and texture. They are cost-effective‚ promote self-sufficiency‚ and ensure no additives or preservatives. Easy to use‚ they provide a fun‚ educational experience while producing high-quality butter with minimal effort‚ perfect for health-conscious households and small-batch enthusiasts.
How a Manual Butter Churn Works
A manual butter churn converts cream into butter through mechanical agitation‚ using gears‚ cranks‚ and handles to agitate the cream until butter forms‚ separating it from buttermilk.
2.1 Mechanical Process of Churning Cream
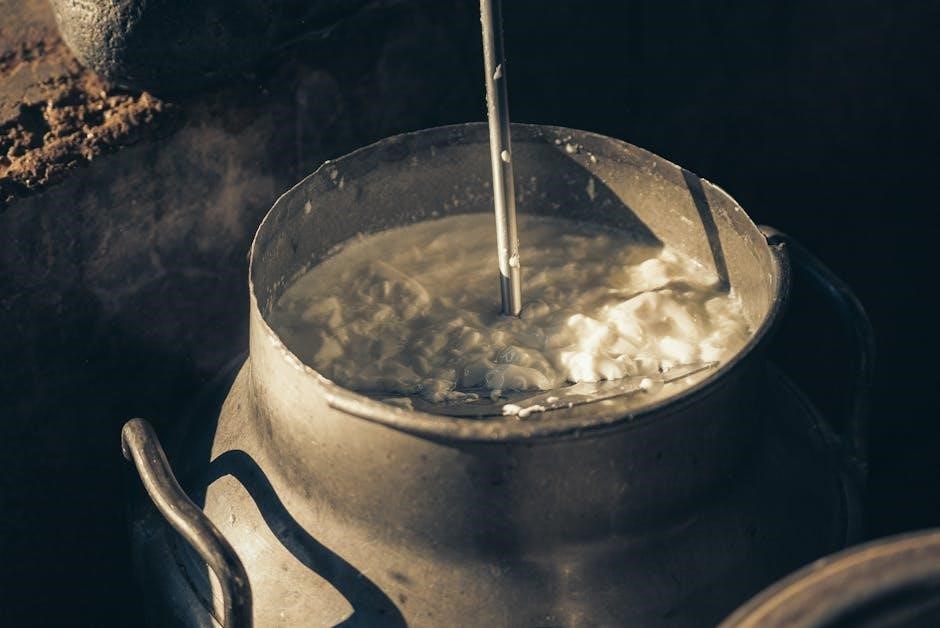
A manual butter churn mechanically agitates cream using a thermo-friction beater and double-jacketed cylinder. The process involves breaking down fat molecules‚ clumping them into butter granules‚ and separating buttermilk. Continuous churning aligns fat globules‚ forming a solid butter mass while releasing buttermilk‚ achieving the desired consistency efficiently.
2.2 Role of Gears‚ Cranks‚ and Handles
Gears‚ cranks‚ and handles in manual butter churns work together to simplify the churning process. The handle provides leverage‚ turning the crank‚ which drives the gears to agitate the cream. This mechanical system reduces effort‚ making churning efficient and less labor-intensive while ensuring consistent agitation needed to separate butterfat from cream.
Step-by-Step Guide to Using a Manual Butter Churn
Using a manual butter churn is a straightforward process. Clean the churn‚ add cream‚ churn until butter forms‚ then rinse and mold. Ideal for homemade butter enthusiasts‚ requiring minimal effort while ensuring fresh‚ high-quality results through simple mechanical operation and proper hygiene practices.
3.1 Step 1: Cleaning the Churn
Cleaning the churn is essential before use. Disassemble all detachable parts and wash them with warm soapy water. Rinse thoroughly to remove any residue. Dry all components with a clean towel to ensure hygiene and prevent contamination. This step ensures the churn is ready for safe and effective butter-making.
3.2 Step 2: Lubricating the Gears
Lubricating the gears ensures smooth operation. Use a food-safe oil like coconut or vegetable oil. Apply a small amount to all moving parts. Wipe off any excess with a clean cloth. Turn the crank slowly to test functionality. Proper lubrication prevents friction and extends the churn’s lifespan.
3.3 Step 3: Churning the Butter
Pour prepared cream into the churn. Attach the lid securely. Turn the crank steadily at a moderate pace. Watch for cream to thicken into whipped cream‚ then form clumps. Stop when butter grains appear. Over-churning can make the butter tough. Use a timer to monitor progress for optimal results.
3.4 Step 4: Pouring Off Buttermilk
Once butter clumps form‚ stop churning. Carefully pour off the buttermilk into a separate container for later use in recipes. Rinse the butter under cold water to remove any remaining buttermilk‚ ensuring freshness. Repeat rinsing until the water runs clear. This step is crucial for achieving the best texture and flavor in your homemade butter.
3.5 Step 5: Washing the Butter
After pouring off the buttermilk‚ rinse the butter under cold running water to remove any remaining buttermilk. Use a fine-mesh strainer or cheesecloth to catch the butter. Gently knead the butter under water to ensure all buttermilk is removed‚ preventing sourness. This step ensures fresh‚ clean-tasting butter for molding and chilling.
3.6 Step 6: Molding and Chilling
Once the butter is washed‚ shape it using a butter mold or wrap it in wax paper. Press firmly to form desired shapes. Chill in the refrigerator to firm up the butter; Optionally‚ add salt or flavors before molding for extra taste. Proper chilling ensures the butter retains its shape and freshness for later use.

Maintenance and Care of a Manual Butter Churn
Regular cleaning‚ drying‚ and lubrication of moving parts ensure longevity. Store in a dry place to prevent rust and maintain functionality for consistent butter-making performance over time.
4.1 Cleaning and Sanitizing the Churn
Cleaning and sanitizing are crucial for maintaining hygiene. Disassemble the churn‚ wash all parts with warm soapy water‚ and rinse thoroughly. Sanitize using a vinegar solution or boiling water. Dry completely to prevent rust and bacterial growth‚ ensuring the churn remains in good condition for future use and preventing contamination.
4.2 Lubricating Moving Parts
Regular lubrication of gears‚ cranks‚ and handles is essential to maintain smooth operation. Use food-safe lubricants like silicone spray or cooking oil to prevent friction and wear. Apply lightly to moving components after cleaning and sanitizing. This ensures the churn operates efficiently and extends its lifespan‚ keeping it in optimal working condition for consistent butter production.

Selecting the Right Cream for Churning
For optimal butter production‚ choose high-fat cream (35-40%) like heavy or whipping cream. Freshness and quality are crucial for flavor and texture. Ensure cream is at the right temperature and consistency before churning for the best results.
5.1 Types of Cream Suitable for Butter Making
Heavy cream (35-40% fat) and whipping cream are ideal for butter making due to their high fat content. Raw milk can also be used‚ though it’s less common. Pasteurized cream works well‚ while unpasteurized cream may churn faster. Homogenized cream is suitable‚ but non-homogenized cream separator. Always ensure cream is fresh and at the right temperature for best results.
5.2 Preparing the Cream for Churning
Preparing cream involves heating it to 90°C‚ then cooling to 15-17°C. Add buttermilk or a starter to aid fermentation. Ensure cream is fresh and at the right temperature for optimal churning; Proper preparation ensures smooth separation of butterfat from buttermilk‚ resulting in high-quality butter and efficient churning process.
Benefits of Making Homemade Butter
Making homemade butter offers cost-effectiveness‚ control over ingredients‚ and the joy of fresh‚ preservative-free butter. It allows for customization and the satisfaction of creating a high-quality product at home.
6.1 Cost-Effectiveness
Making homemade butter is budget-friendly‚ as heavy cream in bulk is often cheaper than specialty butters. This method reduces reliance on store-bought options‚ allowing families to save money while enjoying fresh‚ high-quality butter without added preservatives or packaging costs.
6.2 Control Over Ingredients and Quality
Making homemade butter with a manual churn allows you to choose the cream source and quality‚ ensuring no additives or preservatives. This method gives full control over ingredients‚ enabling customization of salt content and flavor‚ resulting in a fresher‚ healthier‚ and tastier product tailored to personal preferences and dietary needs.
Tips for Achieving the Best Results
Ensure cream is at room temperature‚ avoid over-churning‚ and add salt or flavors for customization. Regular maintenance and proper hygiene also enhance the churning experience and quality.
7.1 Ensuring Proper Temperature
For optimal churning‚ cream should be at room temperature (around 15-17°C). Chilling inhibits fat separation‚ while overheating can damage the cream. Allowing the cream to rest after heating ensures even churning and better butter formation‚ leading to a smoother‚ more consistent final product with minimal effort and maximal efficiency.
7.2 Avoiding Over-Churning
Over-churning can lead to dense‚ grainy butter with a higher risk of spoilage. Monitor the process closely to stop once the cream transforms into a smooth‚ solid mass. Overworking breaks down fat molecules‚ reducing the butter’s quality and shelf life‚ making it less desirable for cooking or spreading on bread.
7.3 Adding Salt or Flavors
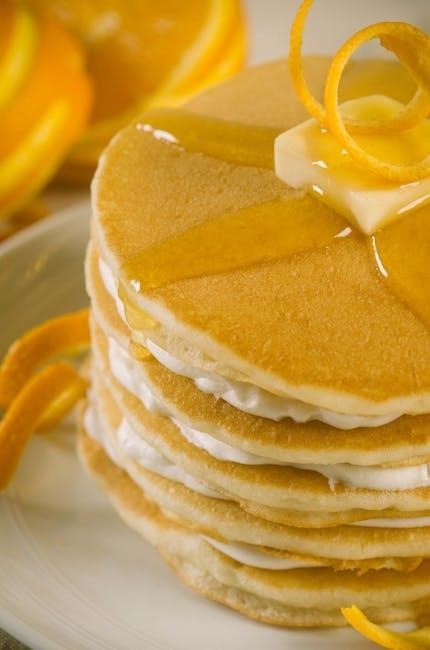
Add salt or flavors to butter after churning for enhanced taste and texture. Salt preserves the butter and enhances flavor‚ while herbs‚ garlic‚ or honey offer unique twists. Mix ingredients gently to avoid breaking the butter’s structure. This customization allows for personalized creations‚ making homemade butter a versatile addition to various dishes and recipes.
Common Mistakes to Avoid
Common mistakes include using low-fat cream‚ over-churning‚ and improper hygiene. Ensure proper cream selection‚ avoid overworking‚ and maintain cleanliness to achieve optimal butter-making results consistently.
8.1 Using the Wrong Type of Cream
Using low-fat cream is a common mistake‚ as it lacks sufficient fat for butter formation. Heavy or whipping cream (30-40% fat) is ideal for churning. Avoid ultra-pasteurized cream‚ as it hinders butter production. Ensure cream is fresh and chilled to 15-17°C for optimal results. Proper cream selection is crucial for successful butter-making.
8.2 Not Maintaining Proper Hygiene
Improper hygiene can lead to contamination‚ spoiling the butter and making it unsafe to consume. Always clean and sanitize the churn‚ utensils‚ and hands before use. Contamination can occur if equipment isn’t properly sterilized‚ risking spoilage and potential health issues. Regular cleaning ensures fresh‚ high-quality butter production and maintains the longevity of the churn.
8.3 Overworking the Butter
Overworking the butter during churning can lead to a dense‚ tough texture and a less desirable flavor. Stop churning once the butter grains form and separate from the buttermilk. Excessive churning incorporates too much air‚ causing the butter to become over-whipped and unpalatable. Proper timing ensures a smooth‚ creamy final product.

History and Cultural Significance
Manual butter churns have ancient origins‚ with early versions used across cultures for centuries. They hold cultural significance in many societies as a symbol of traditional sustenance and rituals.
9.1 Evolution of Butter Churning Techniques
Butter churning techniques have evolved from ancient methods using animal skins to wooden churns and modern manual devices. Early techniques involved shaking cream in skins‚ while later innovations introduced mechanical parts like gears and cranks‚ simplifying the process and making butter production more efficient and accessible for households globally.
9.2 Cultural Roles of Butter in Different Societies
Butter holds significant cultural value worldwide‚ featuring in rituals‚ cuisine‚ and traditions. In India‚ churned butter is associated with Lord Krishna‚ while in Europe‚ it symbolizes richness and hospitality. Across the Middle East and North Africa‚ butter is a staple in cooking and hospitality‚ reflecting its enduring cultural and culinary importance globally.
Manual butter churns offer a rewarding way to create fresh‚ high-quality butter at home‚ combining tradition with simplicity for a truly satisfying culinary experience.
10.1 Final Thoughts on Manual Butter Churning
Manual butter churning is a timeless craft offering a satisfying way to produce fresh‚ high-quality butter. With tools like the Kilner churn‚ it’s easy to enjoy homemade butter while connecting to culinary traditions. This simple yet rewarding process ensures freshness and flavor‚ making it a delightful addition to any kitchen routine.