
A comprehensive guide to chain link fence installation, offering step-by-step instructions for DIY enthusiasts and professionals alike․ Covers everything from planning to maintenance, ensuring durability and versatility for residential or commercial use; Follow safety guidelines and practical tips to achieve a secure and visually appealing fence․
1․1 Overview of Chain Link Fences
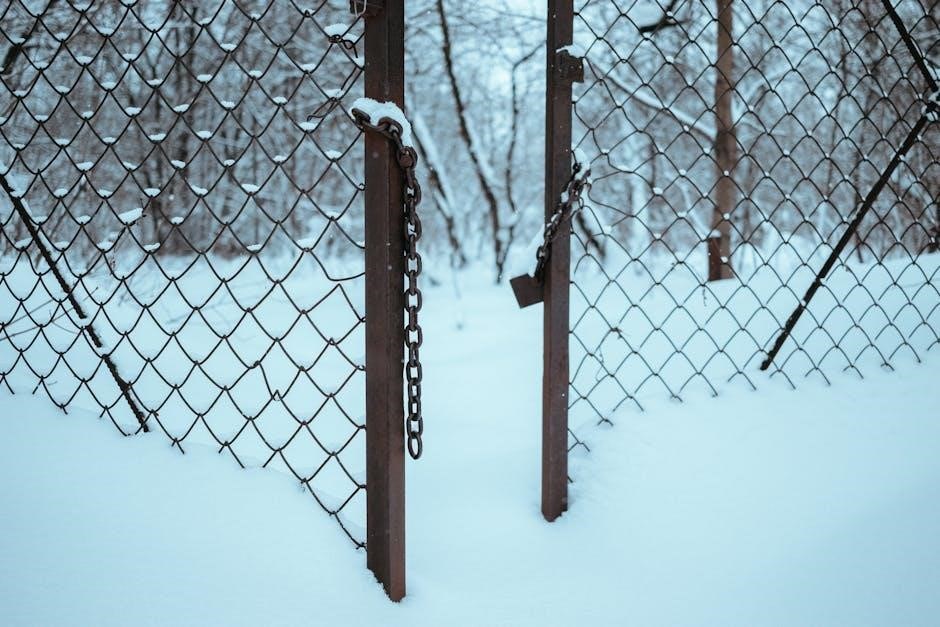
A chain link fence is a durable and versatile fencing option made from galvanized steel wire, forming a diamond-shaped mesh pattern․ It consists of posts, rails, and fabric, offering security and visibility; Popular for residential, commercial, and industrial use, it provides a cost-effective solution for enclosing properties․ The mesh size and wire thickness can be customized for different needs, ensuring long-lasting performance and minimal maintenance․
1․2 Importance of a Comprehensive Guide
A comprehensive guide ensures a smooth chain link fence installation process, preventing costly mistakes․ It provides detailed steps, from planning to finishing, helping even novices achieve professional results․ Proper guidance covers material selection, site preparation, and safety precautions, ensuring structural integrity and longevity․ A well-structured guide minimizes errors, saving time and resources, while guaranteeing a secure and visually appealing fence that meets local regulations and enhances property value effectively․
Tools and Materials Required
Essential tools include post-hole diggers, concrete mixers, and wire stretchers․ Materials like steel posts, chain link fabric, and fencing hardware ensure a durable and secure installation process․
2․1 Essential Tools for Installation
The installation requires specific tools to ensure accuracy and efficiency․ A tape measure helps in precise measurements, while a level ensures posts are evenly aligned․ Pliers and wrenches are necessary for tightening bolts and wires․ A shovel or excavator is needed for digging post holes, and a cement mixer prepares the concrete․ Wire cutters and stretchers handle the fencing material, ensuring it is taut and secure․ Safety gear, like gloves and safety glasses, protects during the process․
2․2 List of Necessary Materials
The essential materials include chain link fabric, steel posts, concrete for post setting, and fencing fittings like tension bands and bolts․ Wire ties secure the fabric to posts, and top railings add stability․ Safety gear, such as gloves and goggles, is also required․ Optional materials include privacy slats or vinyl coating for aesthetic purposes․ Ensure all components are weather-resistant and durable to withstand environmental conditions․ Proper materials ensure a sturdy and long-lasting fence installation․
Planning and Designing the Fence
Proper planning ensures structural integrity and visual appeal․ Assess the site, measure the perimeter, and choose the right fence height, mesh size, and post spacing for durability and adaptability․
3․1 Assessing the Site for Installation
Assessing the site is crucial for a successful installation․ Evaluate the terrain for slopes, curves, and obstacles․ Check for underground utilities to avoid damage․ Measure the perimeter to determine the number of posts and materials needed․ Ensure the area is clear of debris and vegetation․ Mark the corners and boundaries to guide the layout․ Consider the fence’s purpose and local regulations to ensure compliance․ Proper site assessment ensures a smooth and accurate installation process․
3․2 Measuring the Perimeter and Marking the Layout
Accurately measure the perimeter of the area where the fence will be installed․ Use a tape measure to record the length and width of each side․ Mark the corners with stakes and string to visualize the layout․ Ensure all measurements align with the site assessment․ Clearly label gate locations and any areas requiring special attention․ Double-check the measurements to avoid errors․ This step ensures the fence fits perfectly and meets the project requirements․ Proper marking aids in efficient installation․
3․3 Choosing the Right Fence Height and Mesh Size
Selecting the appropriate fence height and mesh size is crucial for functionality and aesthetics․ Common heights range from 3 to 12 feet, depending on the purpose․ Mesh size, measured in gauges, determines visibility and strength․ Smaller gauges (e․g․, 9-11) offer durability for security, while larger gauges (e․g․, 12-15) provide a more open appearance․ Consider the fence’s intended use, such as privacy, security, or pet containment, to make an informed decision․ Local regulations may also influence your choice․ Proper selection ensures the fence meets functional and visual requirements while staying within budget․
Installing Corner and End Posts
Corner and end posts are critical for structural stability․ Ensure they are securely set in concrete, aligned properly, and spaced evenly to support the fence fabric and tension․
4․1 Digging Holes for Posts
Digging holes for corner and end posts is the first step in securing your fence․ Use a post hole digger or shovel to create holes 12 inches deep and slightly wider than the posts․ Ensure the holes are centered and aligned with the fence layout․ Check for underground utilities before digging․ The depth may vary based on local building codes and soil conditions; Proper hole preparation ensures stable post installation․
4․2 Setting Posts in Concrete
Once holes are dug, fill them with 6-8 inches of concrete․ Insert the post, ensuring it’s plumb and aligned with the fence layout․ Fill the rest of the hole with concrete, tamping it down to prevent air pockets․ Allow the concrete to set fully before proceeding․ This step ensures the posts are stable and secure, providing a solid foundation for the fence․ Proper alignment and concrete setting are critical for long-term durability and structural integrity․
Stretching the Fence Fabric
This step involves stretching the fabric tightly between posts, ensuring even tension․ Use tools like tension bars or winches for proper alignment and security․
5․1 Attaching the Fabric to Posts
Attach the chain link fabric to posts using wire ties or fence clips․ Start at one corner, ensuring the fabric is tight and evenly aligned․ Secure it firmly to each post, working your way along the fence line․ Proper attachment ensures stability and prevents sagging․ Use tension bars to maintain tightness and check alignment regularly for a professional finish․
5․2 Tightening the Fabric with a Tension Bar
Tightening the fabric with a tension bar ensures a secure and taut fence․ Insert the bar into the end of the fabric and twist it to tighten․ Use a wrench to apply additional tension if needed․ Ensure even tightness to prevent sagging or unevenness․ Proper tensioning enhances durability and maintains the fence’s structural integrity․ Always check the fabric alignment after tightening to ensure a professional finish․

Installing the Gate
Gate installation requires precise alignment and secure attachment to ensure smooth operation․ Use hinges and latches for durability and easy access to your fenced area․
6․1 Positioning the Gate Frame
Positioning the gate frame accurately is crucial for proper functionality․ Measure the space between the posts to ensure the frame fits perfectly․ Use a level to align the frame horizontally․ Secure the frame temporarily with clamps or brackets to check the fit․ Ensure the gate swings freely without obstructing nearby structures․ Proper alignment prevents sagging and ensures smooth operation․ Double-check measurements before final installation to avoid adjustments later․ This step is key for a durable and functional gate system․
6․2 Attaching Hinges and Latch
Attach hinges to the gate frame and fence post using screws or bolts․ Ensure hinges are aligned for smooth movement․ Install the latch securely on the opposite post, adjusting its height to match the gate’s alignment․ Tighten all fasteners firmly to prevent loosening over time․ Use a drill and screwdriver for precise installation․ Double-check the latch’s functionality to ensure the gate opens and closes smoothly․ Properly secured hinges and a latch are essential for the gate’s stability and security․
Fencing Around Obstacles
When fencing around obstacles like trees or uneven terrain, carefully cut the fabric to fit․ Use wire ties or brackets to secure it, ensuring stability and proper alignment․ Maintain structural integrity while adapting to the site’s unique challenges for a seamless installation․ Properly navigating obstacles ensures the fence remains durable and visually consistent․
7․1 Handling Curves and Slopes
When installing a chain link fence around curves or slopes, ensure the fabric bends smoothly without kinking․ For curves, slightly adjust post spacing and gently bend the fabric․ On slopes, align posts perpendicular to the ground and rake the fabric to match the incline․ Use a post hole digger for precise digging, and tighten the fabric with a tension bar to maintain stability․ Always wear protective gear and follow safety guidelines during these adjustments․
Safety Considerations
Wear protective gear, including gloves and safety glasses, when handling sharp materials․ Ensure stable footing and avoid overreaching to prevent accidents during installation․
8․1 Protective Gear and Precautions
Always wear protective gear, including gloves, safety glasses, and sturdy footwear, to prevent injuries․ Ensure the installation area is clear of debris and tripping hazards․ Avoid overreaching or lifting heavy materials without assistance․ Handle sharp metal components with care to prevent cuts․ Keep children and pets away from the workspace․ Regularly inspect tools and materials for damage․ Follow weather conditions to avoid slippery surfaces or unstable ground․ Prioritize stability and balance when working at heights or in uneven terrain․
Cost Estimation and Budgeting
Estimate costs by calculating materials, labor, and fence size․ Include posts, fabric, fittings, and optional features like gates or protective coatings to avoid budget overruns․
9․1 Calculating Material Costs
To estimate material costs, measure the fence perimeter and determine the number of posts, fabric, and fittings required․ Consider the fence height, mesh size, and type of posts (standard, heavy-duty, or corner/gate posts)․ Add costs for fittings like post caps, ties, and rails․ Optional features such as privacy slats or vinyl coating increase expenses․ Check supplier prices to calculate total material costs accurately and avoid budget overruns․
Maintenance and Repair
Regular inspections ensure the fence remains durable․ Check for rust, sagging, or damage․ Address issues promptly to prevent further deterioration and costly repairs later․
10․1 Regular Inspection and Cleaning
Regular inspections are crucial for maintaining a chain link fence․ Check for rust, sagging, or damage․ Clean the fence by removing dirt and debris with a wire brush․ Use mild detergent and water for tougher stains․ Inspect hardware for tightness and lubricate hinges if necessary․ Addressing minor issues promptly prevents major repairs․ Regular cleaning prevents corrosion and ensures the fence remains durable and visually appealing over time․
Troubleshooting Common Issues
Address sagging, loose posts, and damaged fabric promptly․ Inspect hardware tightness and repair or replace worn components․ Regular checks prevent major repairs and ensure fence stability․
11․1 Addressing Sagging or Loose Posts
Sagging or loose posts can compromise the fence’s stability․ Inspect the post base and surrounding soil for settling or erosion․ If the post is slightly loose, tighten the anchor bolts and pack soil firmly around the base․ For severely loose posts, re-set them in concrete, ensuring proper alignment․ Regular inspections and timely repairs prevent further damage and maintain structural integrity, ensuring the fence remains secure and visually appealing over time․