
Welcome to the T6 installation manual! This guide provides step-by-step instructions for installing, configuring, and troubleshooting your Honeywell T6 Pro Smart Thermostat. Ensure proper setup for optimal performance and energy efficiency.
Key topics include: system requirements, mounting, wiring, and advanced features. Follow instructions carefully to avoid errors. Contact support if issues arise during installation or operation.
System Requirements and Compatibility
The Honeywell T6 Pro Smart Thermostat is designed to work with a variety of heating and cooling systems, ensuring compatibility and optimal performance. It is compatible with 24-230V on/off and OpenTherm appliances, such as gas boilers, combi-boilers, and heat pumps. Additionally, it supports zone valve applications, making it versatile for different home configurations.
For conventional systems, the T6 Pro supports up to 2 Heat/2 Cool stages, while heat pump systems can utilize up to 3 Heat/2 Cool stages. However, it is not compatible with 240V electric heating systems. The thermostat also integrates seamlessly with smart home devices, leveraging geofencing and adaptive learning to enhance energy efficiency and comfort.
Before installation, ensure your HVAC system meets these requirements to guarantee proper functionality. Compatibility with your existing setup is crucial for maximizing the thermostat’s advanced features and ensuring reliable operation. Always refer to the manual for detailed specifications and exceptions.
Installation Process
The T6 thermostat installation involves preparing the site, mounting the cover plate, and attaching the thermostat. Gather necessary tools, ensure the area is level, and follow step-by-step instructions for a smooth setup.
3.1. Preparing the Installation Site
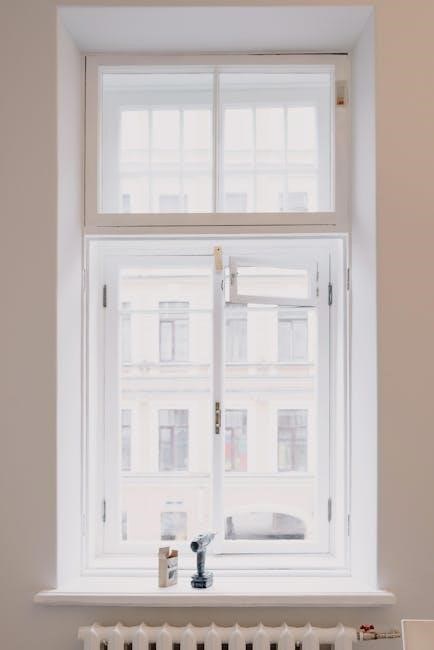
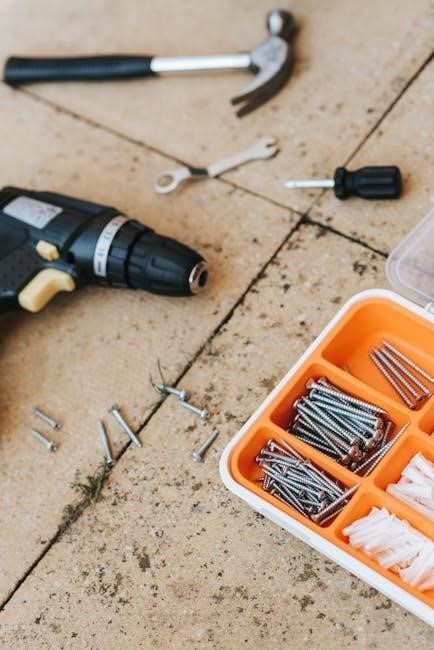
Before installing the T6 thermostat, ensure the installation site is properly prepared. Turn off the power to the HVAC system at the circuit breaker. Gather all necessary tools and components, including screws, wall anchors, and the UWP (Universal Wall Plate). Clean the area around the installation site to avoid dust or debris interfering with the process. Verify that the wall is level and sturdy enough to support the thermostat and its components. If using the UWP, check for any existing wiring or obstacles that may require relocation. Mark the wall carefully to ensure accurate placement of the mounting plate. Ensure the thermostat is installed away from direct sunlight, heat sources, or drafts to maintain accurate temperature readings. Follow the manufacturer’s guidelines for optimal placement and spacing. Proper preparation ensures a smooth and efficient installation process.
3.2. Mounting the Cover Plate
Mounting the cover plate is a critical step in the T6 thermostat installation. Begin by positioning the cover plate on the wall, ensuring it is level and aligned with the mounting plate. If no wall anchors are present, mark the screw hole positions on the wall using a pencil. Drill pilot holes for the screws, then lightly tap the supplied wall anchors into place. Insert the mounting screws and tighten them firmly, but avoid over-tightening to prevent damage. Once the cover plate is securely mounted, attach the Universal Wall Plate (UWP) by snapping it onto the cover plate. Ensure the UWP is properly aligned and seated to maintain a flush fit. Double-check that the cover plate is level and all screws are tightened evenly. Properly mounting the cover plate ensures a stable base for the thermostat and guarantees accurate temperature readings and smooth operation. Follow the manufacturer’s guidelines for optimal results.
3.3. Attaching the T6 Thermostat
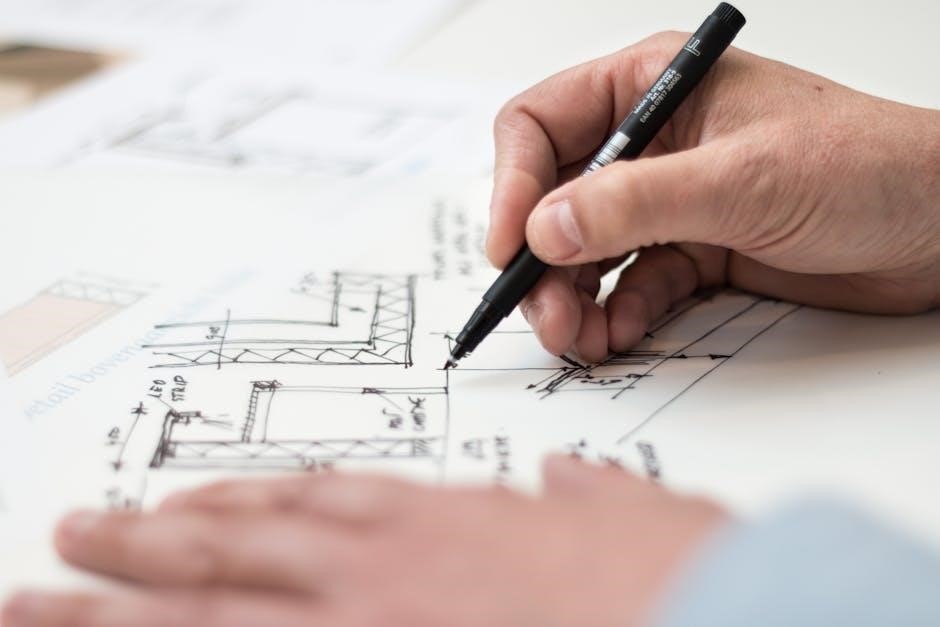
To attach the T6 thermostat, begin by gently handling the device to avoid static electricity damage. Align the thermostat with the Universal Wall Plate (UWP), ensuring the tabs on the thermostat match the corresponding slots on the UWP. Once aligned, push the thermostat onto the UWP until it snaps securely into place. Ensure the thermostat is flush with the wall and properly seated. Secure the thermostat using the mounting screws provided, tightening them firmly but avoiding over-tightening, which could damage the device. Next, connect the wires to the appropriate terminals on the thermostat, following the wiring diagram provided in the manual. Double-check all connections to ensure they are secure and not pinched. Finally, test the thermostat by turning on the HVAC system to confirm proper operation. This step ensures the thermostat is safely and correctly installed, ready for configuration and use. Proper attachment is essential for reliable performance and accurate temperature control. Always follow the manufacturer’s instructions for best results.
Wiring and Connections
Proper wiring is critical for the T6 thermostat to function correctly. Begin by turning off the power to your HVAC system at the circuit breaker to ensure safety. Identify the terminals on your existing thermostat and label the wires before disconnecting them. Match the wires to the corresponding terminals on the T6 thermostat, referring to the wiring diagram in the manual. Common terminals include R, W, Y, G, C, and O/B. Securely connect the wires to the appropriate terminals, ensuring no bare wires are exposed. If using the Universal Wall Plate (UWP), insert the wires through the wiring hole and connect them to the terminals on the UWP. Tighten the terminal screws firmly but avoid over-tightening. Once all connections are made, turn the power back on and test the system to ensure everything operates correctly. If unsure, consult a licensed HVAC technician for assistance. Proper wiring ensures reliable performance and safety. Always follow the manufacturer’s guidelines for wiring configurations.

Initial Setup and Configuration
After successfully installing the T6 thermostat, proceed to the initial setup and configuration. Power on the device and follow the on-screen prompts to select your preferred language, time zone, and unit of measurement. Next, configure the system type, such as heat pump or conventional heating and cooling. Set the temperature range and differential to optimize comfort and energy savings. Ensure the geofencing feature is enabled to allow location-based temperature adjustments. Connect the thermostat to your Wi-Fi network for smart home integration and remote access. Download and install the Honeywell Home app to pair your thermostat with your mobile device. Finally, test all configured settings to ensure proper operation. If you encounter any issues, refer to the troubleshooting section or contact customer support. Proper configuration is essential for maximizing the thermostat’s features and performance.
Advanced Features and Customization
The T6 Pro Smart Thermostat offers advanced features to enhance your comfort and energy efficiency. Utilize geofencing to automatically adjust temperatures based on your location. Smart scheduling learns your daily routines to optimize heating and cooling. Access Installer Setup Parameters (ISU) through the advanced menu to customize settings like temperature limits, compressor lockout, and stage transitions. For heat pump systems, adjust the balance point to determine when auxiliary heat activates. Enable OpenTherm compatibility for modulating boilers to improve efficiency. Use the Honeywell Home app to create custom scenes and integrate with other smart devices. Set up alerts for system notifications, such as filter changes or extreme temperatures. Explore these features to tailor your thermostat to your specific needs and preferences, ensuring maximum comfort and energy savings. Regularly review and update settings to maintain optimal performance.
Troubleshooting Common Issues
If you encounter issues with your T6 Pro Smart Thermostat, refer to this section for solutions. Common problems include display not turning on, incorrect temperature readings, or loss of Wi-Fi connectivity. Check if the thermostat is properly powered and wires are securely connected. Restart the device or perform a factory reset if necessary. For connectivity issues, ensure your router is functioning and the thermostat is synced with the Honeywell Home app. If the thermostat shows incorrect temperatures, calibrate it through the menu settings. Address any error codes by consulting the user manual or contacting support. Regularly update the thermostat’s software to resolve bugs and improve performance. Always verify wiring connections, especially for heat pump systems, to avoid incorrect stage transitions. If issues persist, contact a certified HVAC technician for professional assistance. Troubleshooting promptly ensures your system operates efficiently and effectively.
Maintenance and Upkeep Tips
Regular maintenance ensures your T6 Pro Smart Thermostat operates efficiently. Clean the device with a soft cloth to remove dust and debris. Check for firmware updates via the Honeywell Home app to keep your thermostat optimized. Inspect wiring connections annually to prevent loose contacts, which can cause malfunctions. Replace batteries (if applicable) when the thermostat indicates low power. Calibrate the temperature sensor if readings are inaccurate. Avoid exposing the thermostat to direct sunlight or extreme temperatures, as this may affect performance. For hardwired models, ensure the power supply is stable. Refer to the user manual for specific calibration instructions. Schedule annual HVAC system checks to ensure compatibility and performance. Keep the thermostat’s screen free from obstructions for proper functionality. By following these tips, you can extend the lifespan of your T6 Pro Smart Thermostat and maintain reliable climate control. Regular upkeep ensures your system runs smoothly and efficiently year-round.
Congratulations! You’ve successfully installed your T6 Pro Smart Thermostat. Before finalizing, perform a thorough system check to ensure everything functions correctly; Power on your HVAC system and verify that the thermostat responds accurately to temperature adjustments. Check that all wiring connections are secure and that the device is level on the wall. Test advanced features like geofencing and smart home integration to confirm they operate as expected. Review your scheduling settings to ensure they align with your daily routine. If any issues arise, refer to the troubleshooting section or contact Honeywell support for assistance. Finally, dispose of any packaging materials responsibly and store the manual for future reference. Your T6 Pro Smart Thermostat is now ready to provide efficient and smart climate control for your home.