
Welcome to the Olympus OM-1 user manual, your essential guide to unlocking the full potential of this advanced digital camera․ This comprehensive resource provides detailed instructions, tips, and technical insights to help you master the OM-1’s features, from its 20MP Stacked Live MOS sensor to its powerful image stabilization system․ Whether you’re a professional or an enthusiast, this manual ensures you get the most out of your photography experience with clear, step-by-step guidance․
1․1 Overview of the Olympus OM-1 Camera
The Olympus OM-1 is a high-performance mirrorless camera featuring a 20MP Stacked Live MOS sensor and the TruePic X Processor, ensuring high-quality images and videos․ It incorporates 5-axis in-body image stabilization, providing up to 8 stops of compensation for sharp results․ The camera’s compact, durable metal body combines portability with professional-grade performance, making it ideal for various photography applications․
1․2 Importance of Reading the User Manual
Reading the Olympus OM-1 user manual is essential to fully understand and utilize the camera’s advanced features․ It provides detailed explanations of settings, shooting modes, and customization options, ensuring you optimize your photography experience․ The manual also offers troubleshooting tips and maintenance guidance, helping you resolve issues and extend the camera’s lifespan․ It’s a valuable resource for both beginners and experienced photographers․
Key Features and Technical Specifications
The Olympus OM-1 boasts a 20MP Stacked Live MOS sensor and TruePic X processor, delivering high-quality images and videos․ It features 5-axis in-body image stabilization, achieving up to 8 stops of compensation for sharp results, and supports advanced shooting modes for versatile photography․
2․1 20 MP Stacked Live MOS Sensor and TruePic X Processor
The Olympus OM-1 features a 20MP Stacked Live MOS sensor and TruePic X processor, ensuring high sensitivity and dynamic range․ This combination delivers exceptional image quality, reduced noise, and faster processing speeds․ The sensor’s stacked design enhances readout speed, minimizing rolling shutter effects, while the processor optimizes color reproduction and detail, enabling sharp and vibrant results in various lighting conditions․
2․2 5-Axis In-Body Image Stabilization
The Olympus OM-1 is equipped with a 5-axis in-body image stabilization system, providing up to 8 stops of compensation․ This advanced technology minimizes camera shake and blur, enabling sharp handheld shots even in low-light conditions․ The system covers vertical, horizontal, and rotational movements, ensuring stabilized performance across all lenses, including legacy glass, and enhancing overall shooting versatility and confidence․
2․3 High-Quality Image and Video Capabilities
The Olympus OM-1 delivers exceptional image quality with its 20MP Stacked Live MOS sensor and TruePic X processor, capturing fine details and vibrant colors․ It supports 4K video recording, ensuring cinematic results with precise autofocus and stabilization․ The camera excels in dynamic range and low-light performance, making it ideal for both still photography and professional-grade video production, catering to creative and technical demands․
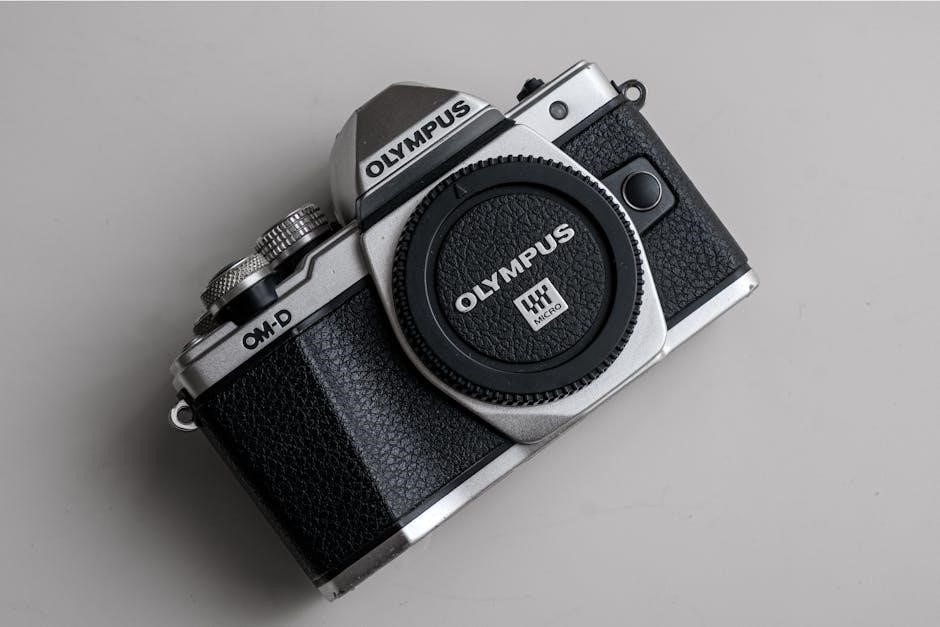
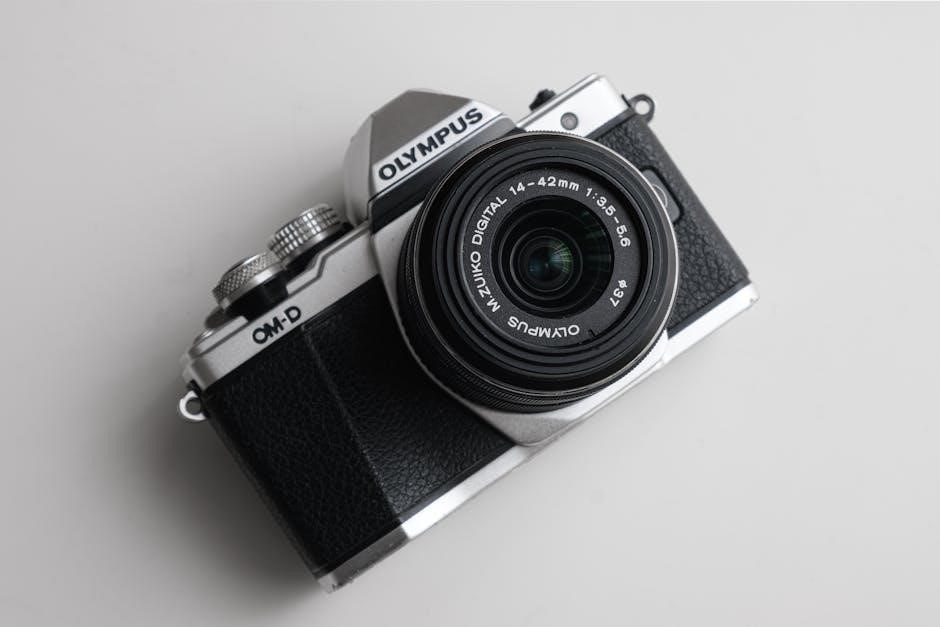
Camera Design and Ergonomics
The Olympus OM-1 features a compact, durable metal body with an intuitive control layout, ensuring a comfortable and efficient shooting experience, even in challenging conditions․
3․1 Compact and Durable Metal Body
The Olympus OM-1 boasts a lightweight yet robust metal construction, combining magnesium alloy for durability and weather-sealing for protection against harsh environments․ Its compact design ensures portability without compromising on build quality, making it ideal for both professional and everyday use․
3․2 Intuitive Control Layout
The Olympus OM-1 features an ergonomic design with an intuitive control layout, ensuring easy access to essential functions․ The strategically placed buttons and dials allow for seamless adjustments, while the customizable controls enable personalized operation․ This design enhances shooting efficiency and provides a comfortable user experience, catering to both professionals and enthusiasts․
Getting Started with the Olympus OM-1
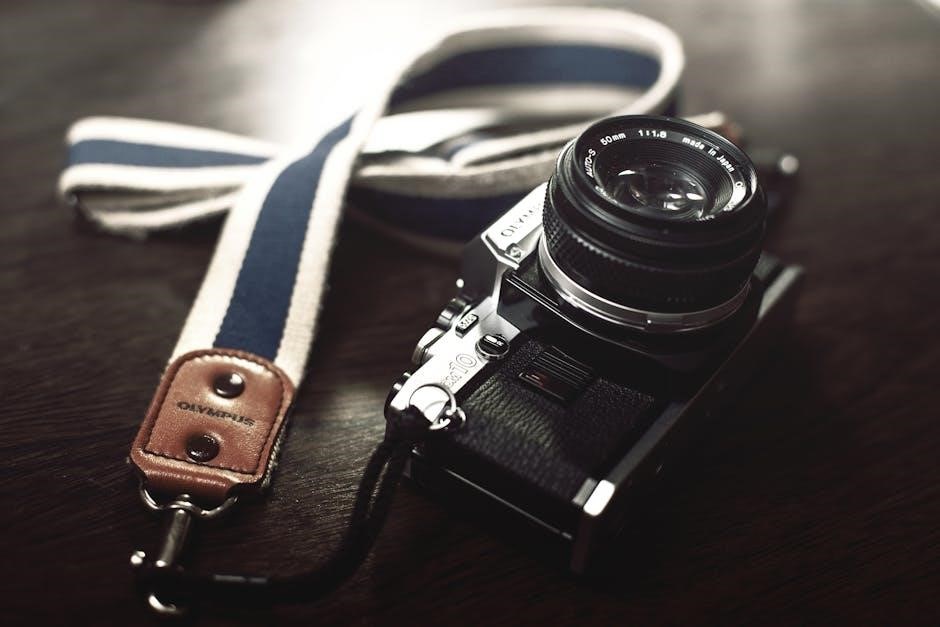
Unbox and familiarize yourself with the Olympus OM-1, then attach the strap and insert the battery․ Charge the battery using the provided USB-AC adapter and insert the memory card to prepare for shooting․
4․1 Unboxing and Initial Setup
Carefully unbox your Olympus OM-1 and ensure all accessories, including the battery, charger, and strap, are included․ Begin by attaching the strap for secure handling․ Next, insert the battery into the camera body, ensuring it clicks securely into place․ Charge the battery using the provided USB-AC adapter until the indicator shows a full charge․ Finally, insert a compatible memory card into the designated slot to prepare for capturing images․
4․2 Attaching the Strap and Inserting the Battery
Begin by attaching the strap to the Olympus OM-1 for secure handling․ Align the strap’s endpoints with the camera’s strap eyelets and slide them through, then pull gently to ensure a snug fit; Next, locate the battery compartment, open it, and insert the battery with the terminal side facing the correct direction․ Gently push until it clicks into place, ensuring it is securely locked․ Finally, check the battery level using the camera’s power button or menu to confirm it is properly inserted and ready for use․
4․3 Charging the Battery and Inserting the Memory Card
To charge the Olympus OM-1’s battery, connect it to the USB-AC adapter and wait until the indicator light turns green, signaling a full charge․ Next, locate the memory card slot on the camera’s side․ Insert the memory card with the label facing upwards and the metal contacts facing the camera․ Gently push until it clicks into place, ensuring it is securely locked․ This ensures your camera is ready for use with adequate storage and power․
Shooting Modes and Settings
The Olympus OM-1 offers a variety of shooting modes and settings, including Multiple Exposure and RAW image overlay, allowing for creative customization to suit your photography needs․
5․1 Multiple Exposure Feature
The Olympus OM-1’s Multiple Exposure feature allows you to capture two shots and overlay them, creating unique, creative images․ Enable this mode via the menu, set the overlay option for RAW images, and compose your shots․ The first image appears as a transparent overlay, guiding your second exposure for precise artistic control and innovative results․
5․2 Overlay Function for RAW Images
The Olympus OM-1’s Overlay function allows you to use a previously captured RAW image as a reference for your next shot․ This feature is ideal for aligning compositions or creating complex multiple exposures․ Enable the Overlay option in the menu, select the desired RAW image, and use it as a guide for precise and artistic results․
5․3 Customization of Shooting Settings
The Olympus OM-1 offers extensive customization options, allowing you to tailor shooting settings to your preferences․ Assign functions to buttons, create custom shooting modes, and adjust parameters for specific scenarios․ This personalization enhances workflow efficiency and ensures you’re prepared for any photographic situation, making the camera an extension of your creative vision․
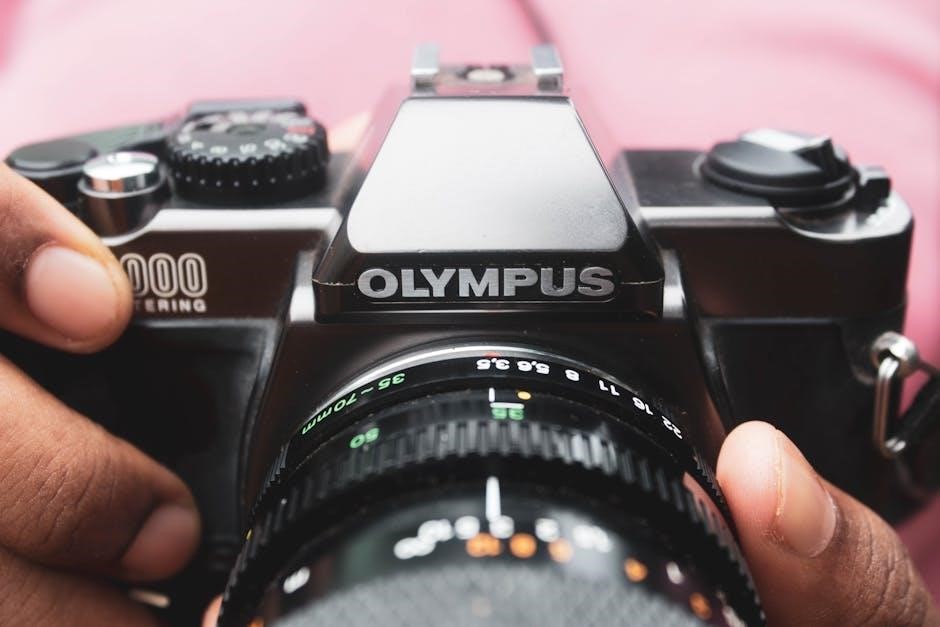
Image Stabilization and Performance
The Olympus OM-1 features advanced 5-axis in-body image stabilization (IBIS), delivering up to 8 stops of compensation․ This technology minimizes blur in handheld shots and challenging lighting conditions, ensuring sharper images and smoother video capture․
6․1 Understanding 5-Axis IBIS
The Olympus OM-1’s 5-axis in-body image stabilization (IBIS) compensates for camera shake along five axes: vertical, horizontal, and rotational movements․ This advanced system minimizes blur caused by hand movement or low light, enabling sharper handheld shots and smoother video recording․ It works seamlessly with lens-based stabilization, enhancing overall stability for professional-grade results in various shooting conditions․
6․2 Achieving Up to 8 Stops of Compensation
The Olympus OM-1’s 5-axis IBIS delivers up to 8 stops of compensation, significantly reducing camera shake and blur․ This exceptional performance allows handheld shooting at slower shutter speeds and in low-light conditions, ensuring crisp images and steady videos․ The system’s advanced algorithms optimize stabilization across all axes, providing unmatched stability for photographers seeking precise control and professional results․
6․4 Minimizing Blur in Various Shooting Conditions
The Olympus OM-1 excels at minimizing blur across diverse shooting scenarios․ Its 5-axis IBIS provides up to 8 stops of compensation, ensuring sharp images even in low light or handheld conditions․ The system effectively counters camera shake, enabling precise focus and reducing motion blur, making it ideal for telephoto, macro, or dynamic photography where stability is crucial for professional results․
Menus and Navigation
The Olympus OM-1 features an intuitive menu system, allowing easy access to key settings․ Navigate through options with clarity, ensuring smooth operation for both new and experienced users․
7․1 Navigating the Menu System
Navigating the Olympus OM-1 menu system is straightforward, with clear categories for image quality, autofocus, and stabilization․ Use the arrow buttons to scroll through options and the OK button to select․ The menu is divided into color-coded tabs for easy access to settings, ensuring efficient adjustments for both stills and video modes․
7․2 Accessing and Adjusting Key Settings
Accessing key settings on the Olympus OM-1 is intuitive, with the menu system allowing quick adjustments․ Use the arrow buttons to navigate and the OK button to select options․ Customize settings like autofocus modes, ISO, and white balance effortlessly․ The camera also supports saving custom settings for quick access, enhancing your shooting experience with personalized preferences․
Customization and Personalization
Customization and personalization are key features of the Olympus OM-1, allowing users to tailor their shooting experience․ Assign functions to buttons, save custom settings, and personalize shooting styles for enhanced creativity and efficiency․
8․1 Assigning Functions to Buttons
The Olympus OM-1 allows users to assign custom functions to specific buttons, enhancing workflow efficiency․ Through the menu system, you can designate functions like ISO adjustment, white balance, or focus modes to buttons of your choice, enabling quick access to frequently used settings and streamlining your shooting process for personalized control and convenience․
8․2 Saving and Sharing Custom Settings
The Olympus OM-1 allows you to save custom settings, ensuring consistent results across shoots․ These settings can be easily shared or transferred to other devices, enabling seamless workflow management․ Use the menu system to export and import configurations, maintaining your personalized preferences for enhanced productivity and efficiency in various shooting scenarios․
Advanced Features and Techniques
Explore advanced techniques like interval shooting, focus stacking, and HDR photography․ These features empower photographers to push creative boundaries, capturing stunning images with precision and ease․
9․1 Using Multiple Exposure for Creative Photography
The Olympus OM-1’s Multiple Exposure feature allows photographers to combine up to 10 frames in a single image․ Enable this mode via the menu, then overlay RAW images for unique effects․ Perfect for creative experimentation, it lets you blend subjects, textures, or lighting conditions to create striking, artistic compositions that expand your photographic vision․
9․2 Enabling Interval Shooting
Interval Shooting on the Olympus OM-1 allows you to capture images at set intervals, ideal for time-lapse photography․ Access this feature via the menu, where you can specify the interval duration and number of shots․ This function is perfect for documenting dynamic scenes like sunsets or weather changes, enabling you to create stunning time-lapse sequences with ease․
Maintenance and Care
Regularly clean the camera and lens with a soft cloth and avoid harsh chemicals․ Store in a dry place to prevent moisture damage and ensure longevity․
10․1 Cleaning the Camera and Lens
Regular cleaning is essential to maintain the Olympus OM-1’s performance․ Use a soft, dry cloth to wipe the camera body and lens surfaces․ Avoid harsh chemicals or abrasive materials․ For the lens, gently remove fingerprints with a microfiber cloth․ Use a blower to remove loose particles before cleaning․ Never touch the lens surface or sensor․ For stubborn smudges, dampen the cloth slightly, but avoid moisture․ Clean the sensor with a rocket blower; wet cleaning should be done by a professional․ Always store the camera in a dry, cool place to prevent damage․
10․2 Updating Firmware
Regular firmware updates ensure optimal performance of your Olympus OM-1․ Download the latest version from the official OM System website․ Connect the camera to your computer via USB and follow the on-screen instructions․ Ensure the battery is fully charged before starting․ Do not interrupt the update process․ Refer to the manual for detailed steps․ Updating firmware enhances functionality and resolves potential issues, keeping your camera up-to-date with the latest features and improvements․
Troubleshooting Common Issues
Address common issues like Wi-Fi connectivity problems or battery life concerns by resetting settings or updating firmware․ Refer to the manual for detailed solutions to ensure optimal camera performance․
11․1 Resolving Wi-Fi Connection Problems
To resolve Wi-Fi issues, restart your camera and ensure it’s connected to the correct network․ Check the camera’s Wi-Fi settings and update firmware if necessary․ Resetting the camera to default settings can also resolve connectivity problems․ For detailed troubleshooting steps, refer to the Olympus OM-1 user manual or contact support for further assistance․
11․2 Addressing Battery Life Concerns
To improve battery performance on your Olympus OM-1, ensure the latest firmware is installed, as updates often enhance power efficiency․ Disable unnecessary features like Bluetooth or image stabilization when not in use․ Avoid extreme temperatures and keep the battery away from moisture․ Use the USB charger for consistent charging, and consider carrying a spare battery for extended shoots․ Resetting the camera to default settings can also help optimize battery life․ For more details, refer to the user manual or contact Olympus support for assistance․

Accessories and Compatible Equipment
The Olympus OM-1 supports a range of accessories, including high-quality lenses, flash units, and external microphones, enhancing both photography and video capabilities․ HDMI connectivity is also available․
12․1 Recommended Lenses and Flash Units
The Olympus OM-1 is compatible with a variety of M․Zuiko lenses, including the versatile 12-40mm f/2․8 and 40-150mm f/2․8 PRO models․ For flash photography, the FL-700WR electronic flash unit is highly recommended, offering wireless control and weather-sealed durability․ These accessories enhance creativity and performance, ensuring optimal results in diverse shooting conditions․
12․2 Using External Microphones and HDMI
Enhance your audio quality by connecting an external microphone to the OM-1’s 3․5mm input, ideal for video recording or interviews․ The HDMI port allows for external monitoring or recording to an external device, ensuring professional-grade video production․ Both features expand the camera’s versatility, catering to advanced photographers and videographers seeking high-quality output and precise control over their workflow․
Mastering the Olympus OM-1 unlocks endless creative possibilities․ With its 20MP sensor, 5-axis stabilization, and 4K video, it empowers photographers to excel in any genre․ Regular firmware updates and proper care ensure optimal performance, helping you capture life’s moments with precision and artistry․ Keep exploring, experimenting, and pushing your photography boundaries to achieve exceptional results consistently․
13․1 Maximizing the Potential of the Olympus OM-1
Unleash the full capabilities of the Olympus OM-1 by exploring its advanced features like the 20MP Stacked Live MOS sensor and TruePic X processor for exceptional image quality․ Utilize the 5-axis IBIS for sharp results, experiment with creative modes like multiple exposure, and leverage firmware updates to enhance performance․ Pair it with compatible lenses and accessories to elevate your photography to new heights effortlessly․
13․2 Continuous Learning and Exploration
Continuous learning is key to mastering the Olympus OM-1․ Explore its advanced features, experiment with shooting modes, and stay updated with firmware improvements to enhance performance․ Refer to the downloadable user manual and online resources for detailed guidance and inspiration, ensuring you stay ahead in capturing stunning images and videos with ease and creativity․